

Difference between cover image and featured image in WordPress
![]() 2 Mins Read
2 Mins Read
Do you want to know the difference between cover image and feature image in WordPress?
New WordPress comes with the Gutenberg block editor which offers so many new and unique features. It also introduces us to some new blocks, the cover block is one of them. With the cover blocks, you can add cover photos to your WordPress posts and pages.
Most of the users are confused with the cover image features as there is also a featured image available for WordPress. But the cover image and feature image are not the same. Here in this article, we will show the difference between cover image and featured image as well as as we will guide you on how you can add cover and feature image.
Featured Image
The featured image is also known as the thumbnail image. The featured image is the main image of your content. The featured image is displayed on the blog posts and others section of your website. Social media feed will also show the featured image of the content.
Your website content is represented by the featured image. The featured image is designed in such a way that it can represent what is inside the article. The featured image gives users the first impression of the content.
Cover Image
A cover image is a large size wide image used as a cover of a page or posts. A cover image is a part of a section of an article. Suppose your article has two or three-parts or sections, so here you can add a cover image before starting a new section.
You can easily add the cover images to your website using the cover block. It will enable you to add the cover image anywhere you want on a web page. You can also add text in your cover image with the cover block.
Add cover image
To add a cover block with Gutenberg block at first open up a page or post and then click on the plus icon from the left top bar. Search for the cover block and add the block here

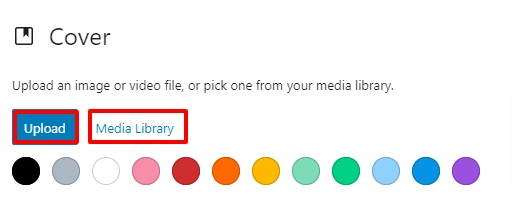
It will add the cover block in the section. You can add an image from the media library or upload an image from the option.
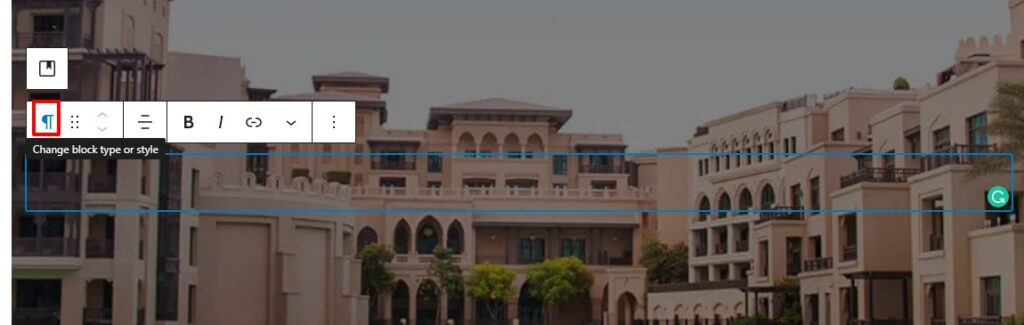
After adding the image you can customize your image very easily. You can add text and style the text section. Click on the area to add your text. You can add a link to the title too.
You can also display the additional setting option by clicking on the 3 dots icon. It will display the additional option at the right sidebar from there you can fixed or repeat the background.

You can also use a color overlay as normal color or gradient color option.

When you are done click on the Save Draft or Publish button to save the changes.
Wrapping up
We hope this article will help you to understand the difference between cover image and featured image. You can see our other tutorials to learn How to use WebP images in WordPress
How to display Full size images on WordPress
If you like this article please like our Facebook page to stay connected.