

How to put images side by side in WordPress
![]() 2 Mins Read
2 Mins Read
Looking for a way to put images side by side in WordPress?
Putting images side by side you can display two images side by side on your WordPress website’s pages and posts. So here in this article, we will show you the easiest way for this task.
Put Images Side by Side in WordPress
There are different ways you can display images side by side. You can use the Gutenberg editor or any plugin for this.
Use Gutenberg block editor to put images side by side
Gutenberg block editor has the image block which will enable you to add image columns and rows. First, open up a page where you want to display the images. Click on the plus icon to add a block. Search for the image block and add the block

After adding the gallery block you can easily add images to your post. You can upload your or select images from your media library.
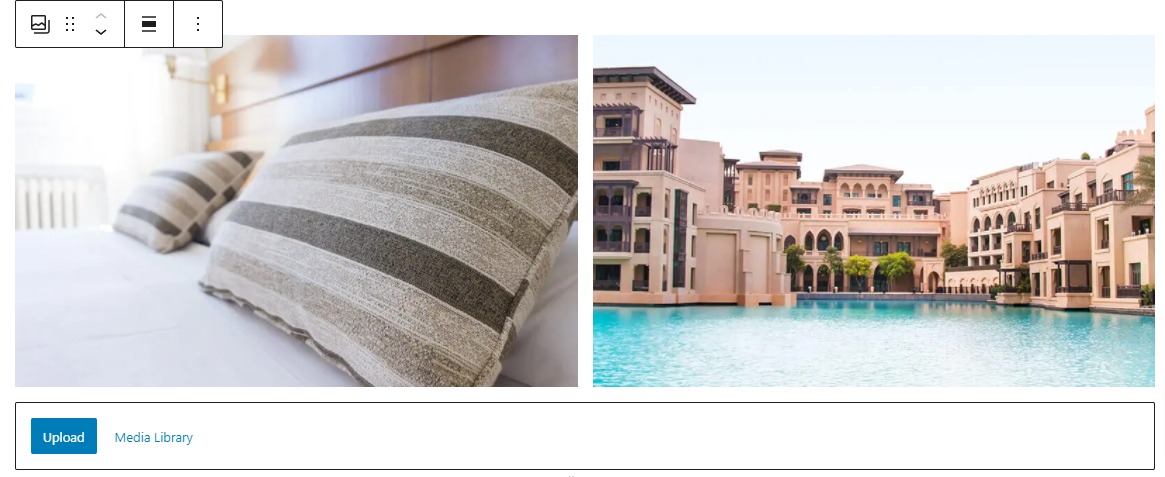
Now if you add 2 images in the image block then WordPress automatically displays 2 images side by side.
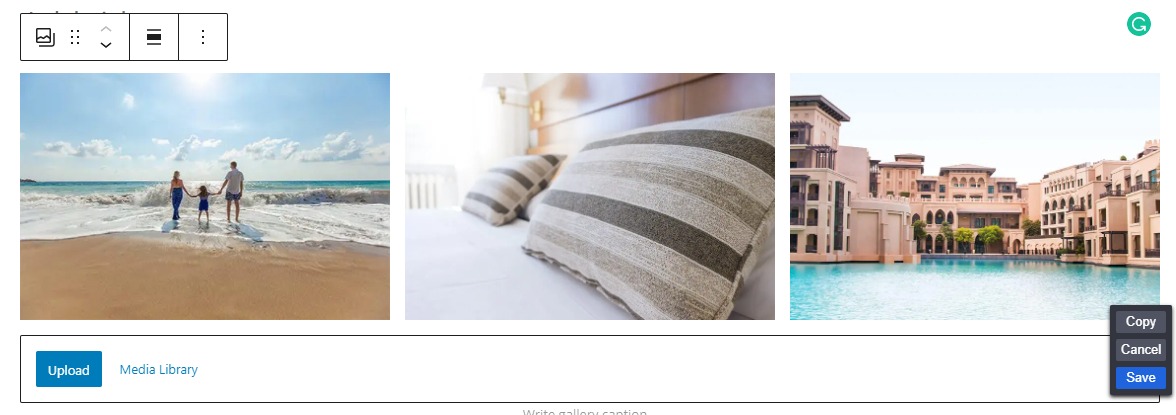
When you add 3 images then it will automatically create 3 columns to display the images.
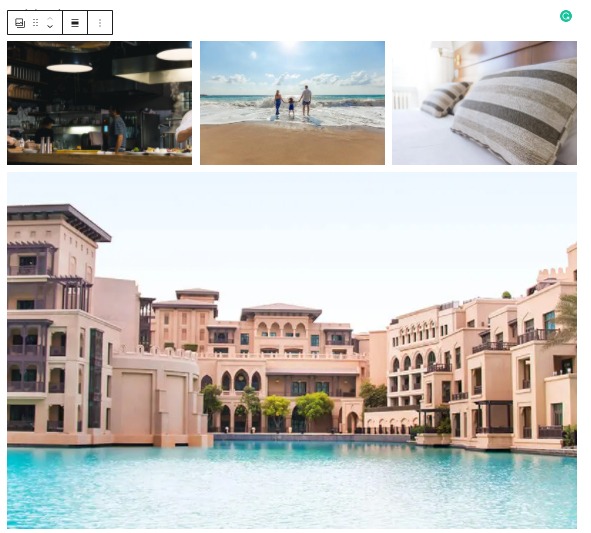
But what happens when you add the next image. When you add the 4th image WordPress will display the images like this-.
You can select the number of images to show in a single column. Click on the block option from the right dashboard and then you can set the number of columns between 1 to 4.
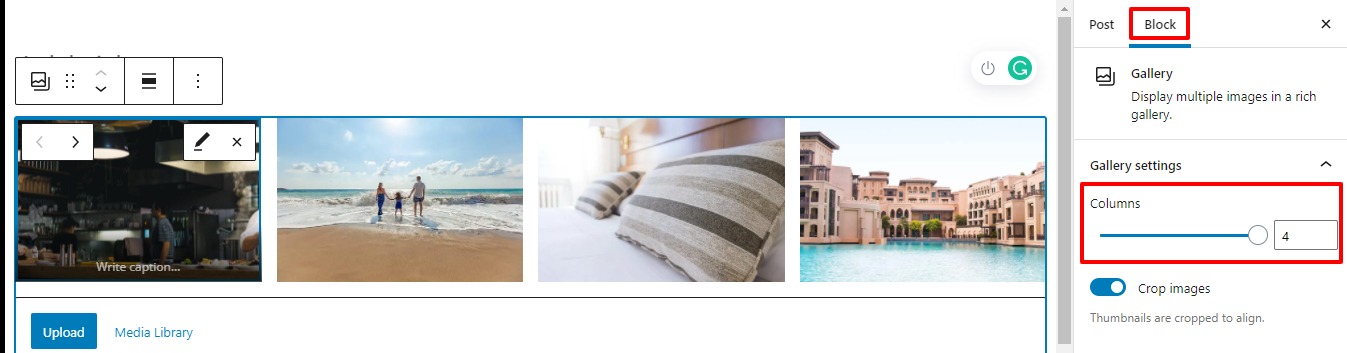
If you want to change the position of the image then click on the image and you will be able to see the arrow option. Click on the arrow to change the image position.

Use a plugin to put images side-by-side
If you want more features and control then you can use the Envira Photo Gallery WordPress plugin. This plugin will provide more control and functionalities to style up your images.
Install and activate the plugin and then go to Envira Gallery > Add New. From here you can add images to the post.
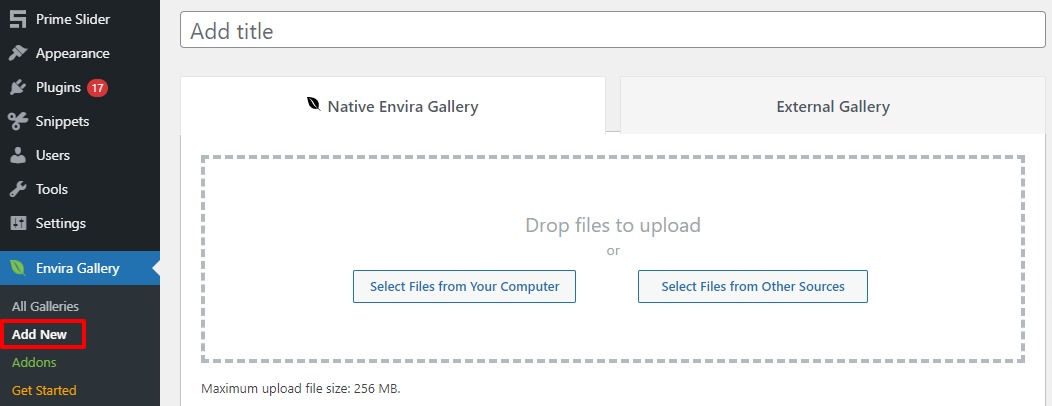
Now you need to give a name to the gallery and then you can upload images or drag images into the box.
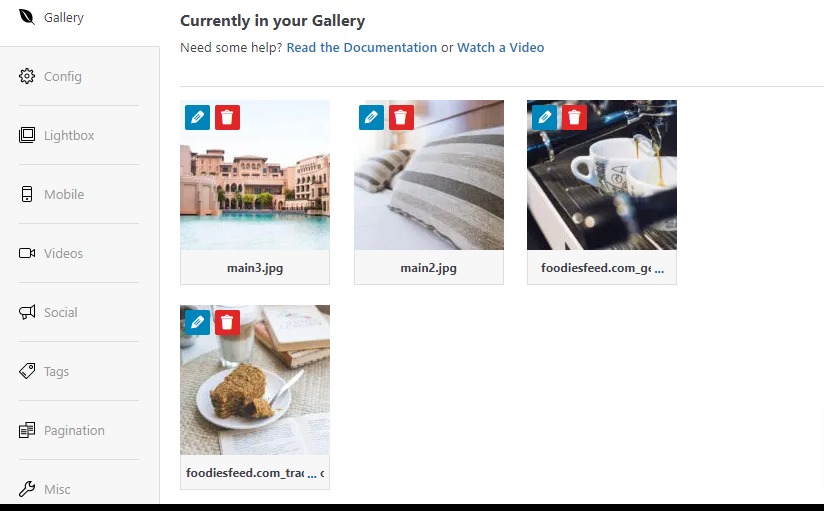
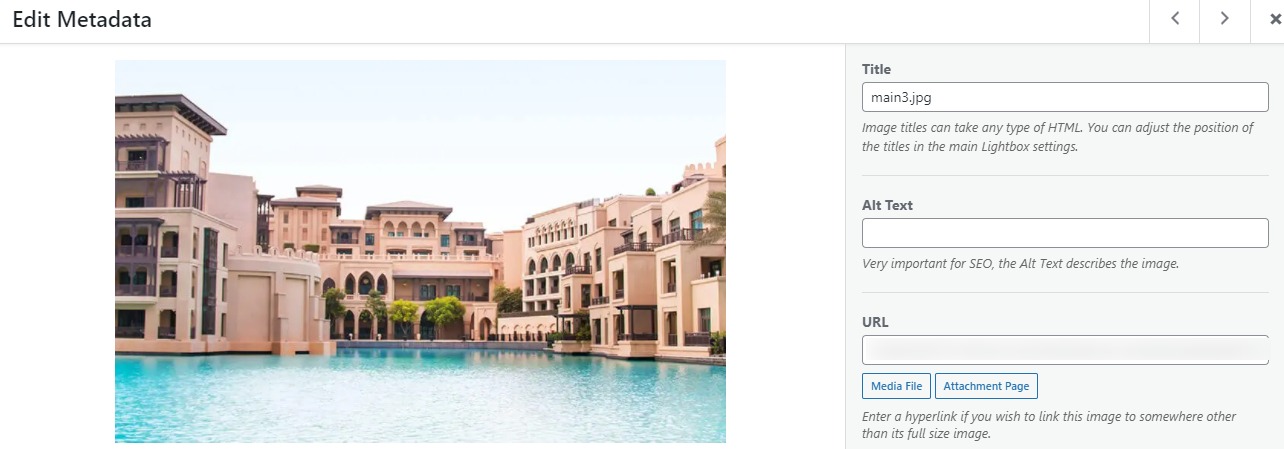
You can modify the images by adding the image title and alt tag. After adding the data click on the save metadata button.
When everything is done click on the publish button.
Now you need to add the gallery to your post. Open up a post click on the plus button and add Envira Gallery block to the post.

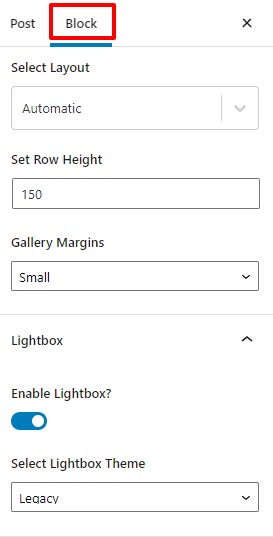
From the search bar, you can search for the gallery and choose the gallery to display. After adding the gallery you can edit the gallery setting from the block option.
From the layout option, you can choose the layout, set row height, and gallery margins. You can enable or disable the lightbox and choose the lightbox theme.
Wrapping Up
We hope this article will help you to put images side by side in WordPress. You can see our other articles to learn the difference between the cover image and the featured image in WordPress
How to use WebP images in WordPress
If you like this article please like our Facebook page to stay connected.